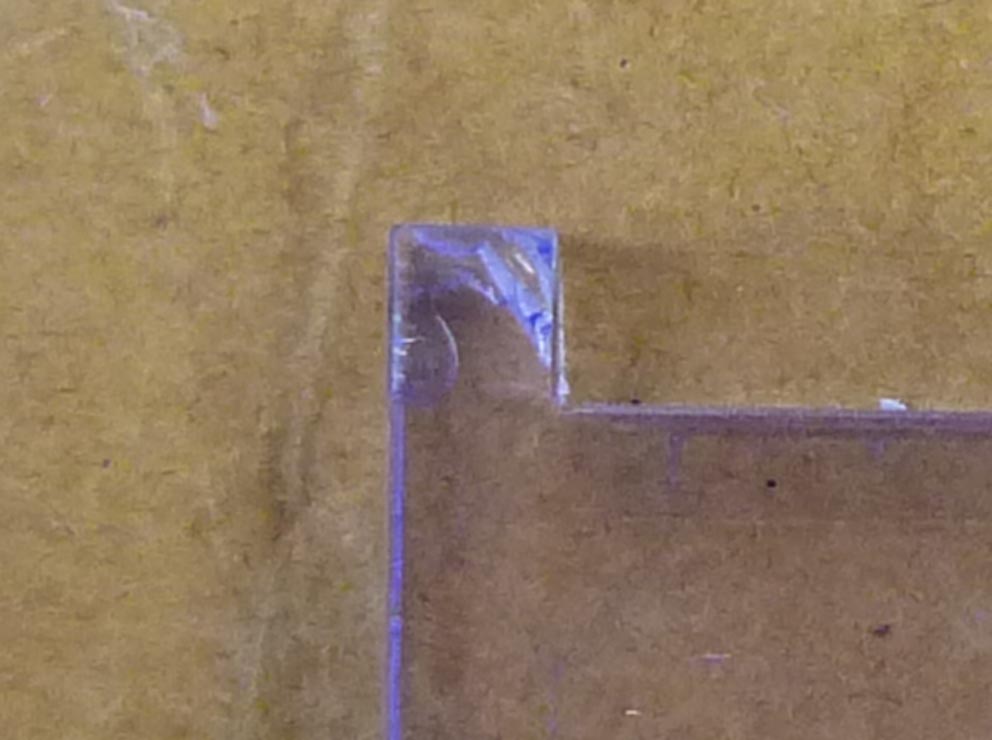
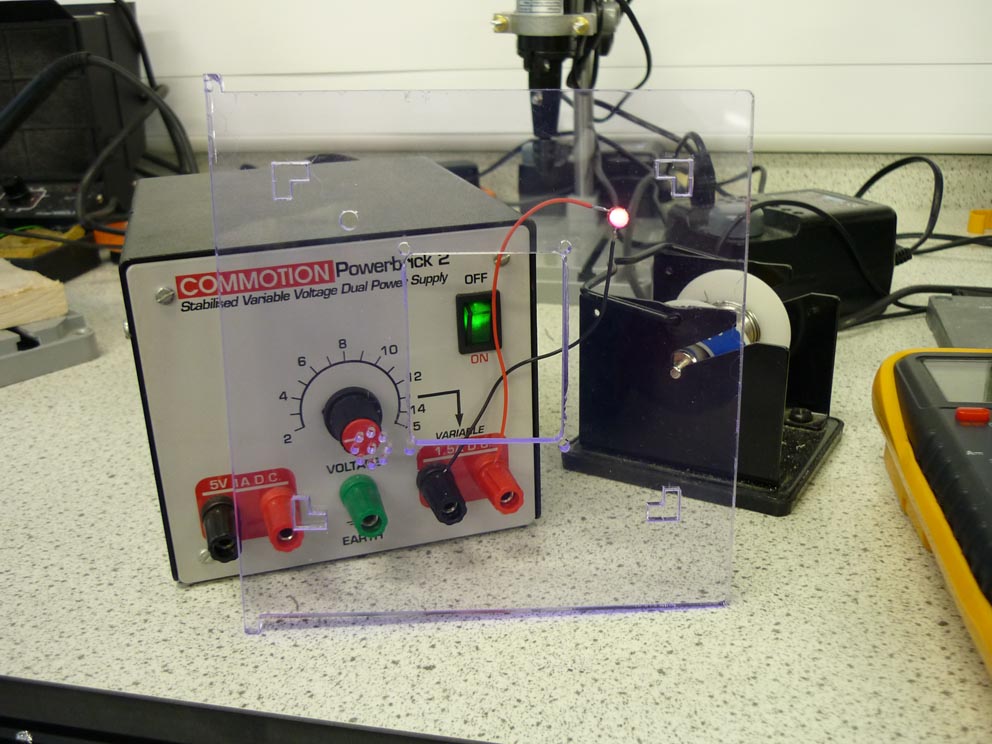
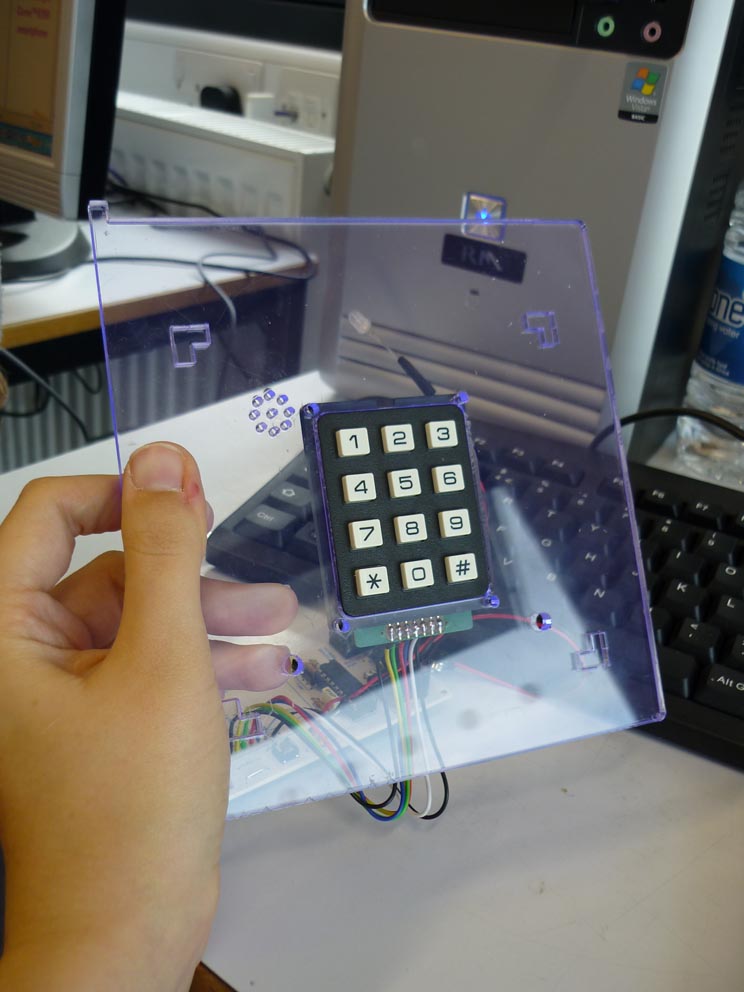
The first test has been somewhat of a disaster, after completing the 2D design drawings of the door, setting up the laser cutter (H+S info here) and cutting my first pieces I found that the settings were off as it failed to cut cleanly and all the way through the acrylic. As a result the hinge tabs have cracked (see image below) and the openings to fit the pieces making up the back of the door have failed to come out at all!
I did manage to fit the keypad in place and the holes for the LEDs did cut through so I was able to see how it would look when they were lit up. The keypad fit was vary tight, possibly due to the poor cut quality but I have altered my drawing to give it another 0.5 mm. The holes in each corner of the aperture needed to be moved as well, they didn’t quite match up to those of the keypad itself and since there is no wiggle room they need to be as close as I can get them.
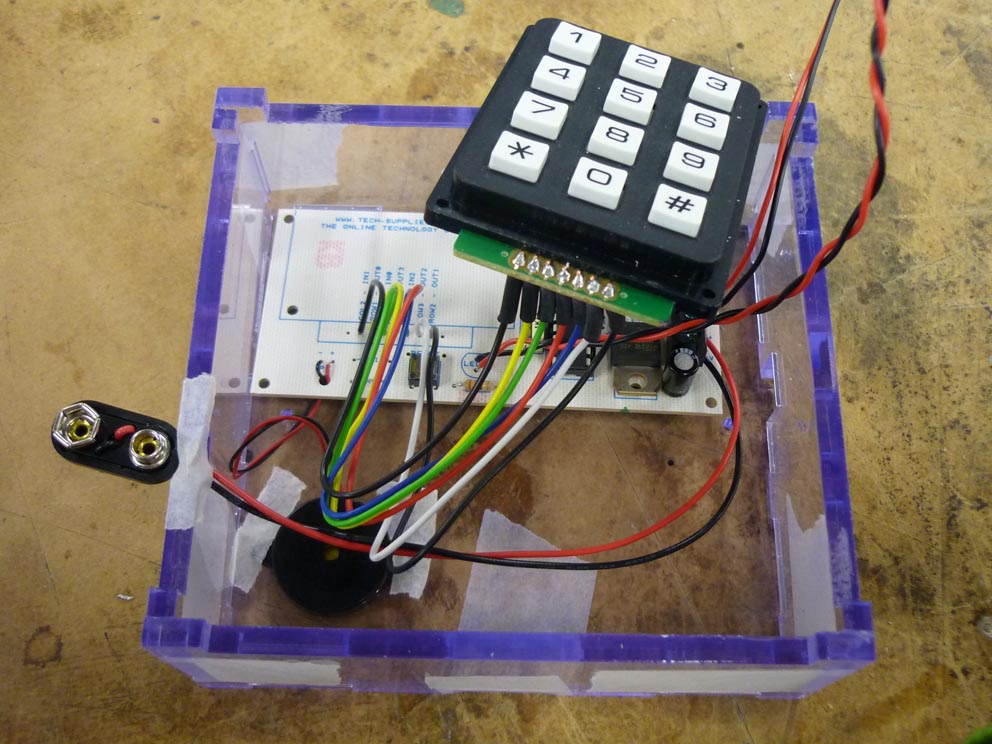
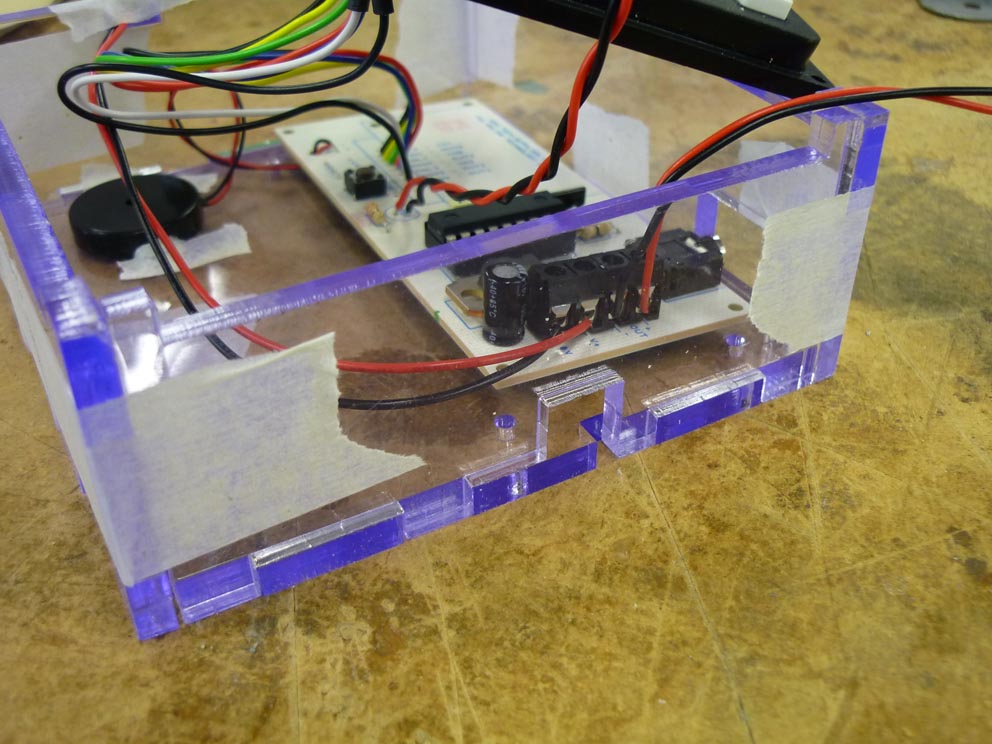
On a brighter note the hinge idea does work, after drilling a hole in two scrap pieces of acrylic I can see that the door will swing between the two, this will be much more secure once the safe is constructed it will be locked in place by the case. The back elements of the door all cut through thankfully so I was able to test the fit of the components and the PCB inside…
The board fits! (not that I had any doubts…) once I have trimmed down and neatened up the wiring it will sit better in the case. I’ve included a little notch out of the left hand side of the box to accommodate the battery cable, it will need extending as I’m placing the battery pack on the underside of my safe. The only major change needed is the port for the solenoid (see below), it’s far too small and where it is placed at the moment the solenoid board will intersect with the main PCB.
So only a few minor changes needed and some testing to get the right speed and intensity for the laser…
