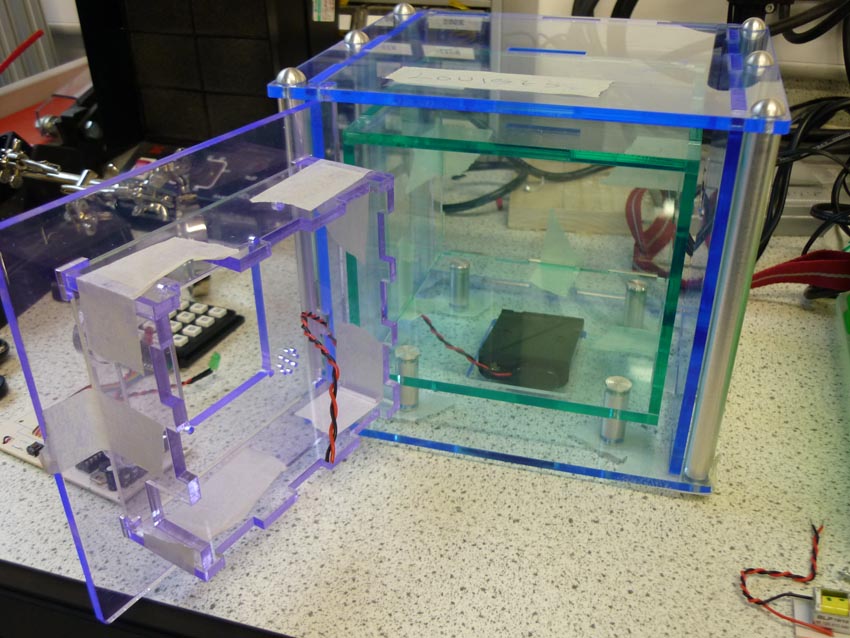
Everything has been cut and and I’m ready to start construction, first step, have a practice run…
All the pieces slot together so I can construct the box and check any fit issues without needing to glue anything.
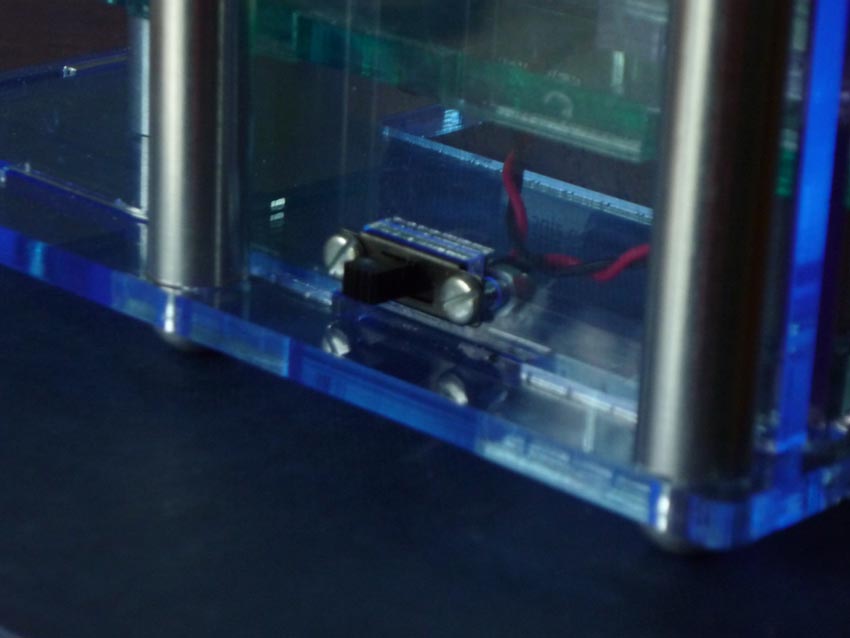
After extending the battery cable I realised that I have not allowed space for the on/off switch, a bit of a silly oversight but one easily fixed. I produced a simple drawing in 2D design using the layout of the piece the switch is to fit to, by making the paper setup the same dimensions as that of the piece to be cut it was a simple matter of placing the acrylic back into the laser cutter and setting it off, hey presto…
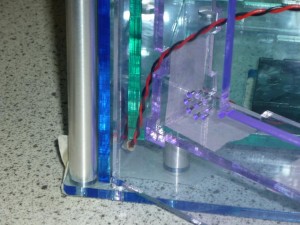
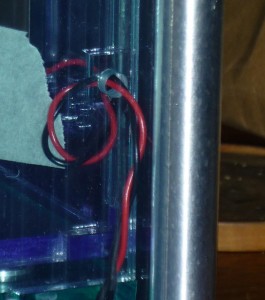
The next step was to test the door in it’s final position. A couple of changes need here as well, as you can see from the first picture below the door would not shut with the battery cable leading down to the pack, the inner case needed a recess for the cable to sit into to allow the door to lie flush to the face of the box. A better solution however was to cut a hole to pass the cable through as this would prevent the cable from slipping out of place as in the second image.
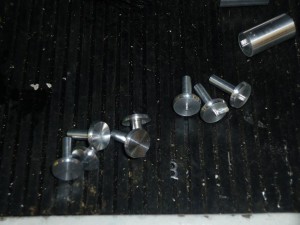
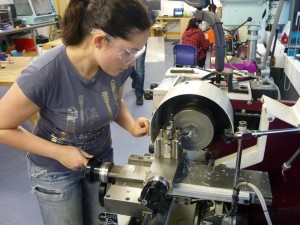
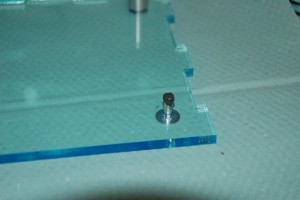
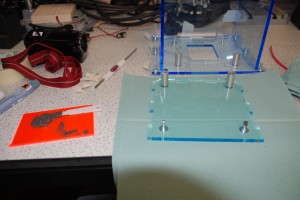
Another problem was that the door was catching on the metal supports on the inside of the green box (see top image). I had already faced them off on the manual lathe to get rid of the bump from the CNC lathe (see below) to fix this I decided to drop the box by 2mm by taking the inner supports down on the manual lathe. This fixed the clearance problem and allowed the door to swing clearly.
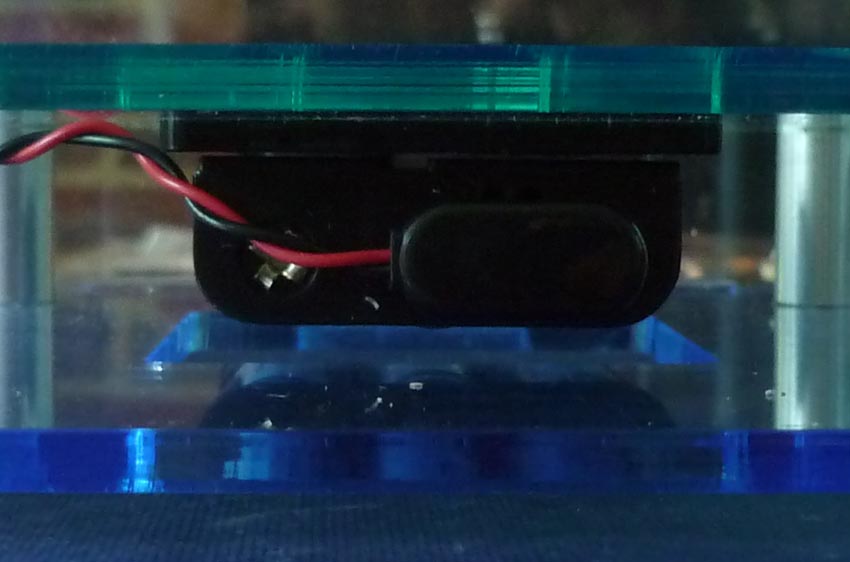
All that is left to do now is to finally fix everything together permanently, starting with fixing the inner supports to the bottom of the blue box and the bottom of the green box. I decided to use Araldite liquid steel as I had gotten good results when using it in my other project. Each support was pushed through it’s opening and coated with adhesive, the connecting piece was then pushed down and held in place with masking tape till dry. I also glued a piece of black acrylic to the underside of the inner box to attach the battery pack to, this looked far neater than seeing the glue through the bottom of the inner box.
Once the inner supports were dry I could use the capillary glue to run along the edges of each tab, tape it securely and wait for it to dry. The outer box was a little more complex as the door needed to be in place before it could be completed. I started by gluing the outer supports to the base, fitting the door, placing the top of the outer box and checking the movement (hmmm… door is a bit squeaky, may need scraping down…) once everything was in place the tops could be glues in place the the capillary glue run allong all edges. The box is finally complete :).
